Gasket for External Power Connector on Browning Trail Cameras
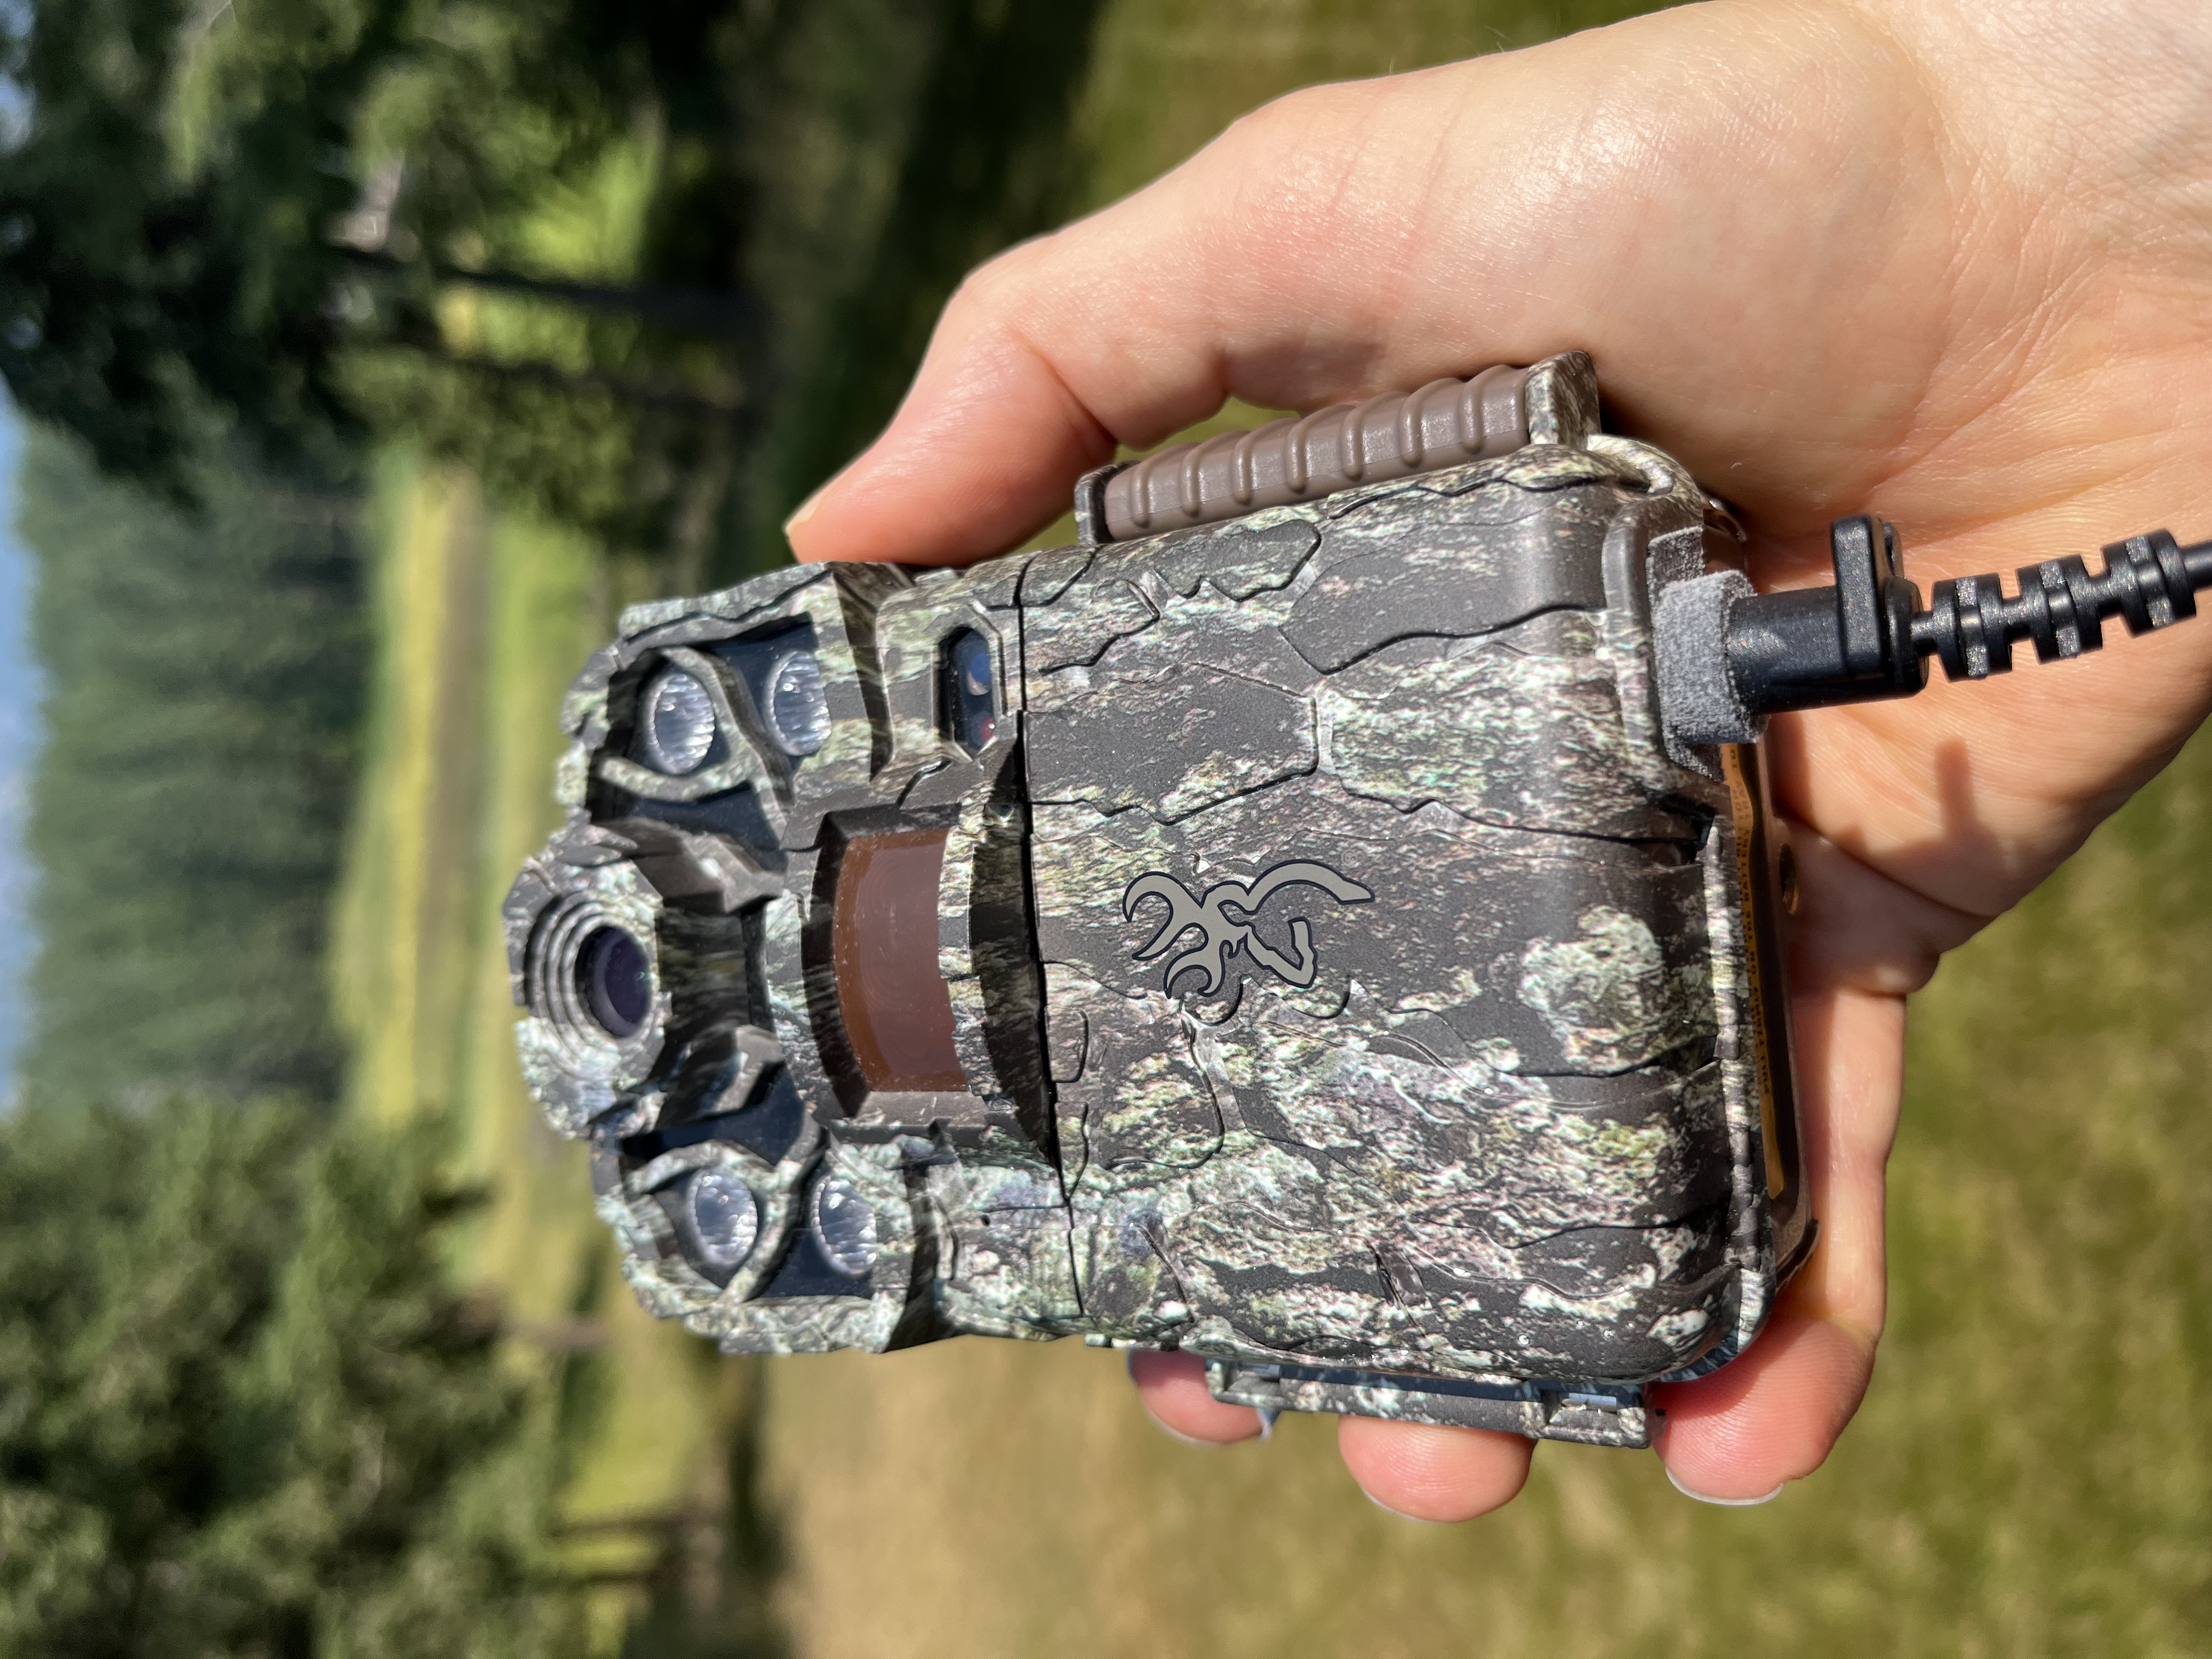
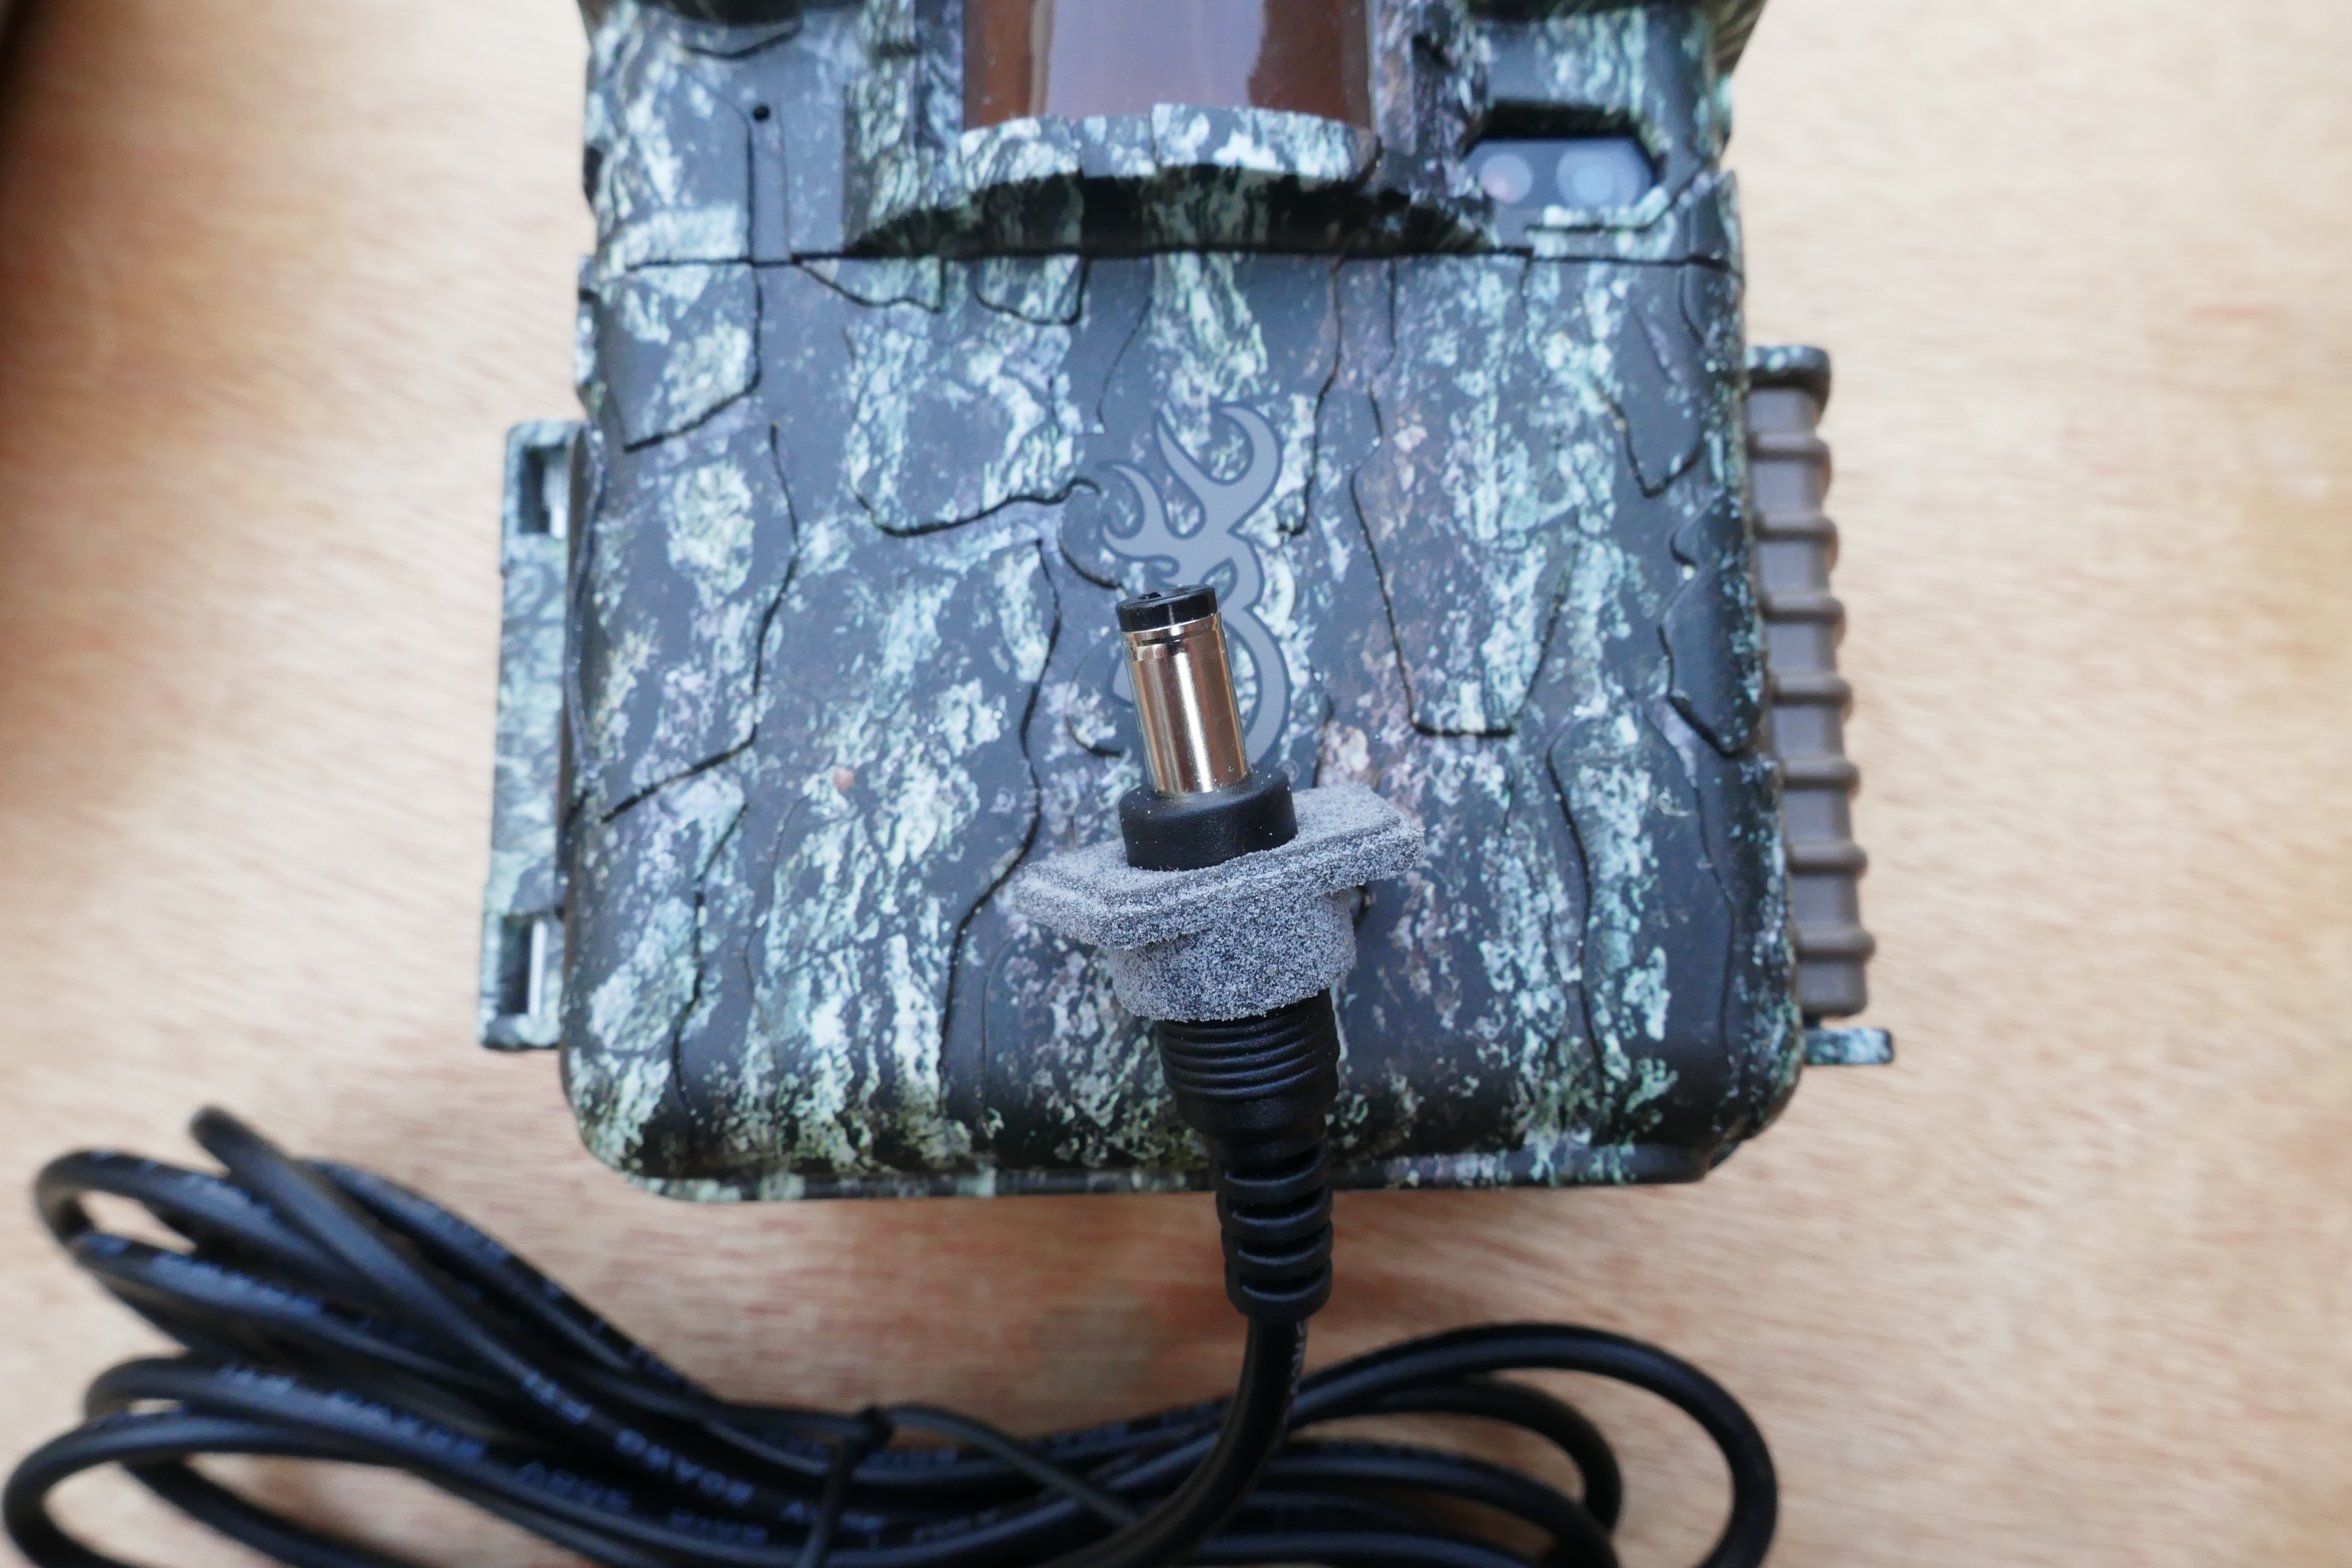
In this post, I describe a simple flexible gasket I designed to keep water out of the external power connector in some Browning Trail cameras. The boot fits over the coaxial barrel connector of the Browning external battery supply (BTC-XB). I’ve tested it on the SpecOps and ReconForce models numbers BTC-{7,8}-E-{HP4, HP5). Though not completely water proof, this gasket will keep most of the moisture out of the camera when used with an external power supply.

External Power Connector
Browning trail cameras have an opening in the bottom of the case for an external power connector. This connector allows for external batteries or solar charger, and can be useful for long deployments at active sets, when internal batteries are not enough (see: Trail Camera Batteries: Internal AA-Cell Options). When not used, the connector is covered by a soft rubber plug which prevents moisture from getting into the camera.
The barrel connector that comes with Browning’s solar adapter and external battery pack fits into the adapter socket. Twisting the the barrel connector “locks” the connector into place. Unfortunately, the external power connector is only protected from water by gravity. In very moist environments, moisture can enter the sensitive insides of the camera viaa small opening around the barrel connector .
Silicone: A Good but Permanent Solution
Some folks have successfully solved this problem by squeezing in a silicone (or similar) water proof compound around the external power connector. This works great, but it tends to permanently attach the external power connector to the camera
A 3D Printed Gasket for the Cable Connector
I decided to design a gasket that would fit over the Browning barrel connector, and then tightly into the external connector port on the camera. I use a 3d printing service to fabricate this part out of a flexible material. it stretches a little to fit snugly into the adapter port, and keeps out moisture.

Installing
The gasket is a friction-fit over the barrel connector. Putting is on is a little tricky, as you have to push the connector into the circular opening of the gasket. It’s meant to be water tight, so it’s a little snug.

Removing the Factory Plug
Before installing the connector into the camera, you will need to remove the the small rubber plug made to cover the external adapter port when it is not being used. You may be able to do this without damaging the rubber piece by gently pulling on the small rubber piece which fits through a hole in the camera housing. I’ve had mixed luck with this, and have sometime broken the rubber “foot.”
A more reliable method is to open the camera up, and pull on the “foot” for the plug from the inside. This stretches the rubber, making it thin enough to pull gently out from the outside. Putting it back in will definitely require opening up the camera case to pull the small rubber “foot” into the hole in the housing.
Installing the 3d-Printed Gasket
Start by opening the access door for the camera. With the gasket pressed onto the barrel connector, insert the barrel connector into the camera port and twist 90 degrees to lock it into place. Now press the gasket up and tighltly into the trapezoidal are of the connect. Use your thumbs to press it up and in as far as it will go.
Next, close the access door for the camera. The gasket should be squeezed tight around the opening in the access door, and sit flush with access door itself. See video below.
Getting One of Your Own
The 3d printing services I’ve used will gladly print instances of my design for you. For example, here are links to the project, ready to order from:
Unfortunately, both of these suppliers have rather large minimum orders. I still have some parts left over from my prototype builds. For US readers only (due to postage cost), let me know in comments below if you’d like a few in comments below. While my supply lasts.
Design Source
Here is the link to the TinkerCAD project that contains my design in CodeBlocks, if you’d like to make changes.
Thanks
I’d like to thank blog subscriber Gerard Oonk for encouraging me to pursue this project, for acting as a beta tester, and for providing some great photos for this post.
Feedback
If you use this custom boot, let us know how it worked in the comment below

Interesting. I have 12 browning that you made those for and am interested in this gasket. All cameras use the external battery pack or solar panel.
Responding via email shortly
Hi Bob, great work. Do you have any gaskets left? I would be grateful to have a few if possible.
Yeap. Will send you an email shortly
Great solution to a common problem. If any are available I would like to try a few. Thank You.
I still have some. I’ll send you an email shortly.
-bob
Hi Bob,
Thanks for all the superb work you do to make camera trapping better for all of us.
I would like to offer to send you a SASE envelope and any fee to try out some of these gaskets. If there is ever a group order, I would be very willing to contribute.
I haven’t opened up a HP5 yet, but I’m wondering if there was a reason you couldn’t seal the gap around the port from inside the camera? And still be able to unplug the cable easily externally?
Have you had any incidents yet off anything happening to the cable between the battery box and camera? Rodent chews, bear pulls, antler snags etc.?
Mo
You’re welcome!
I didn’t try sealing the gap from the inside, though this may work. I did ponder for a couple days my current solution before I got something that looked like it would work. Trying to retrofit a water-eclusion system is a little painful.
We don’t generally use external battery packs for our Browning fleet, but we do use electric cables in our DSLR sets. We spend some time minimizing the “attack” surface by winding the excess cable tightly around the tree and/or camera to avoid exposing any excellent “loop” that might be pulled at. So far this hasn’t been an issue. However, we do often get rodents chewing on our electric cables and even cable locks. They stop when they reach the metal shield. I know of some folks who put a flexible metal sheath around their wiring, in cases where the rodents and/or larger animals are more cable focused.
I still have some of the samples left. I”ll put them in the mail, shortly. SASE not necessary, but please do make a donation in the amount you value these to your favorite conservation organization.
I have them in use and it fits perfectly. I use the original Browning external battery pack, but also the waterproof external battery from Wildlife Monitoring Solutions (Europe) In it, there are 6x 18650 batteries, and you can even connect multiple modules.
I don’t know if it’s allowed to post a link Bob, but here you can see/buy the module.
https://www.wildlifemonitoringsolutions.com/battery-pack
I ordered the 3D-printed Gaskets from Sculpteo. And for 20 pieces I paid $56.53. they were delivered in 3 days.
Thanks again Bob, I am extremely happy with them.
Posting links to products you’ve tried and had success with perfectly fine.
I’m super happy these gaskets are working for you, and appreciate your help in beta-testing 3d party ordering through Sculpteo.com
Hi Bob,
This is great. I have two cameras with solar chargers I’d like to leave out over the winter. If you have two of your gaskets left I’d love to try them.
Thanks!
-Calvin
I appreciate the information provided here. I would like to use a 12V power supply for my Browning Recon Force cams. This does not seem difficult, I have several power supplys all labeled as 12 volts with 500-1000mA outputs. When I put a voltmeter on them they have very different readings, from 11.9 volts to 17 volts. Where can I see guidelines for the proper output of a power supply for my cameras?
Thanks!
Bill
The power converter in these cameras deals with battery voltages ranging from 9.0 Volts (weakly charged 8 x NiMH) to 14.4 Volts (8 brand new EUL batteries), for sure. Any DC supply that operates within this range should be OK. Your unit that reads 17 Volts is a little scary, though it might drop down to 12V when under load. I would use a power supply rated at >= 1000 mA to handle the flash at night. Make sure the center contact in the barrel connector is “positive”, and the outer contact “negative”.
Hope this helps. As far as guidelines go, I believe Browning advises against using an AC power adapter — most likely to avoid taking responsibility for cameras damaged by folks less diligent than you 🙂
Thanks, that helps a lot.