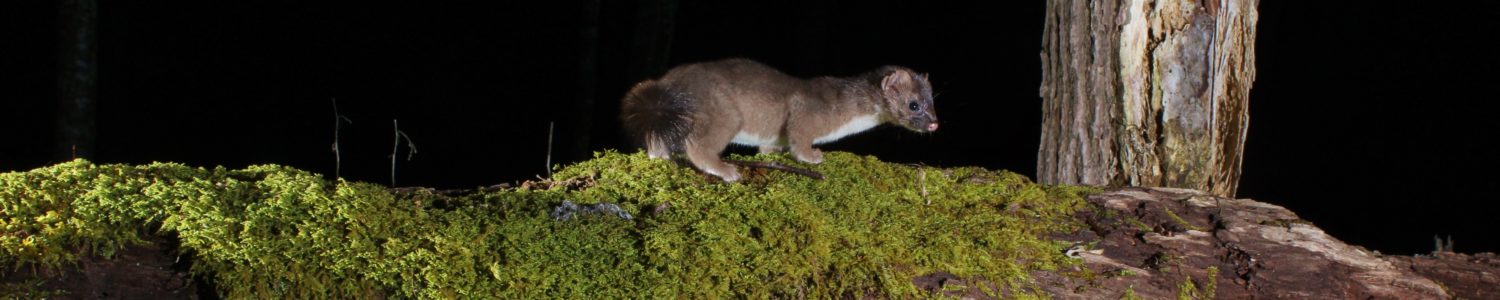
Trail Camera Close Focus Conversion
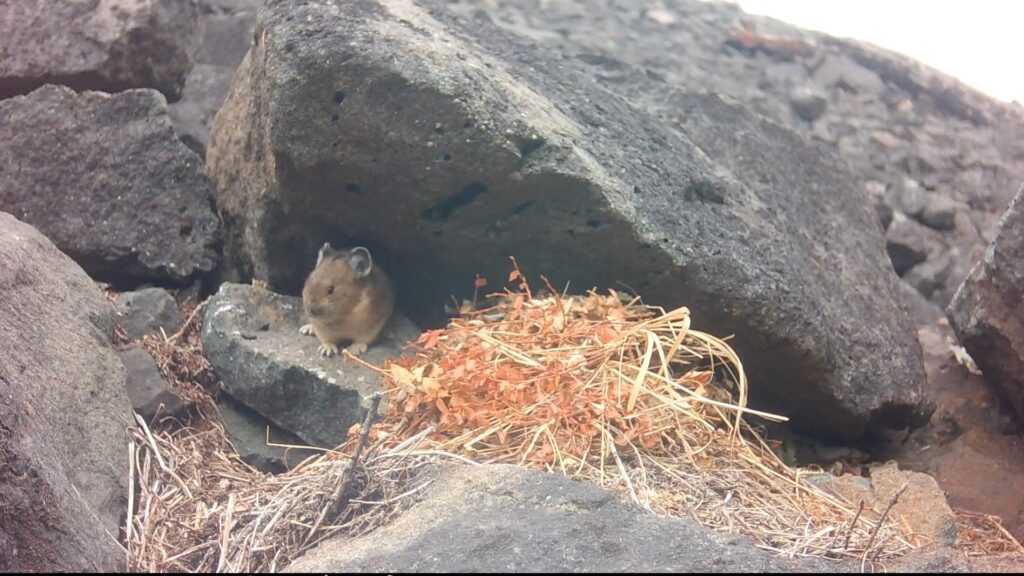
Most trail cameras have a fixed focal length lens with a depth of field between about 36 inches and infinity. That is, any animal further away from the camera than about 3 feet will be in focus. But what happens if you want to get a tight shot of a small animal, like this baseball-sized pika in northwest Montana? In this post, I’ll show a simple hack for converting any trail camera to close focus using only some adhesive and a pair of cheap reading glasses.
Inspiration
At one time, Bushnell marketed a trail camera designed specifically of close focus sets. The Nature View HD had a threaded mounting bracket over the primary lens and a set of various close focus lenses which could be screwed into this mount. The trail camera could be used for far focus seems by leaving the mount empty; and for close focus sets by using one of the included lenses.
Unfortunately, this camera is no longer available. But, as others have noted, we can use the same idea.
Source of Lenses
The easiest source of low-cost magnifying lenses with various strengths are reading glasses. These can be had inexpensively online, or at drug stores. Magnification for reading glasses is measured in “diopters” — with values ranging from 0.25 to 4 or 5. These lenses are large enough that they can easily cover the primary lens in a trail camera, with plenty of area around the perimeter for mounting.
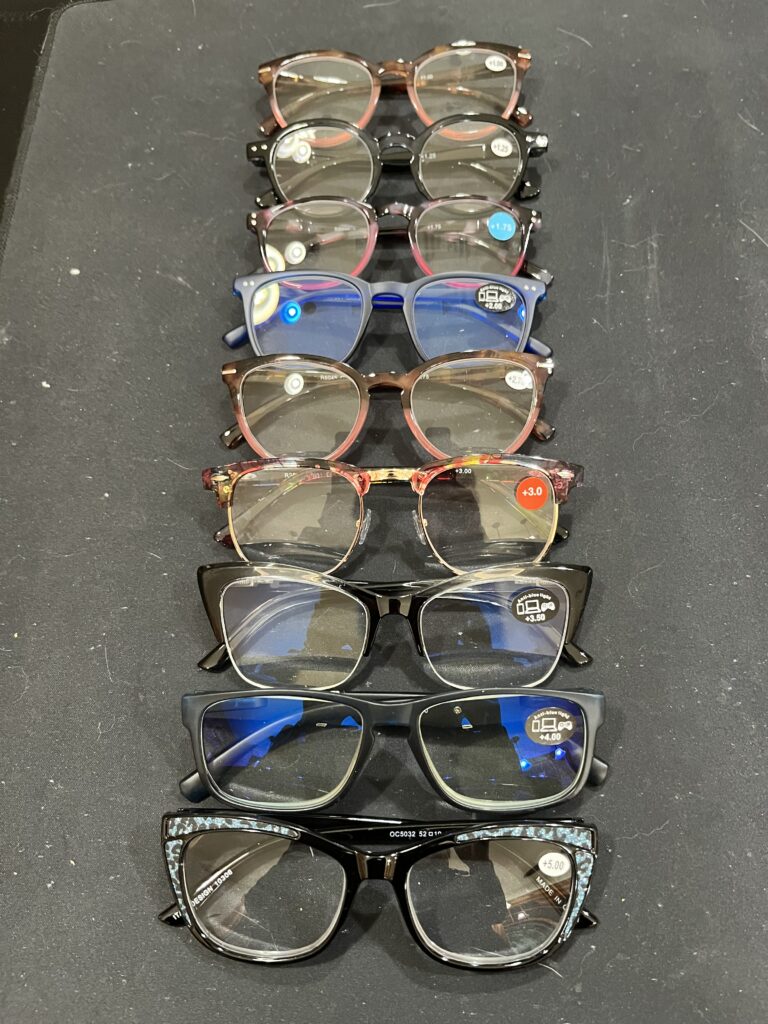
I used a pair of diagonal cutter to snip the frames along the bottom to release the lens. The second lens is available for another camera, or to use if the first attempt at adhesion goes wrong.
Depth of Field
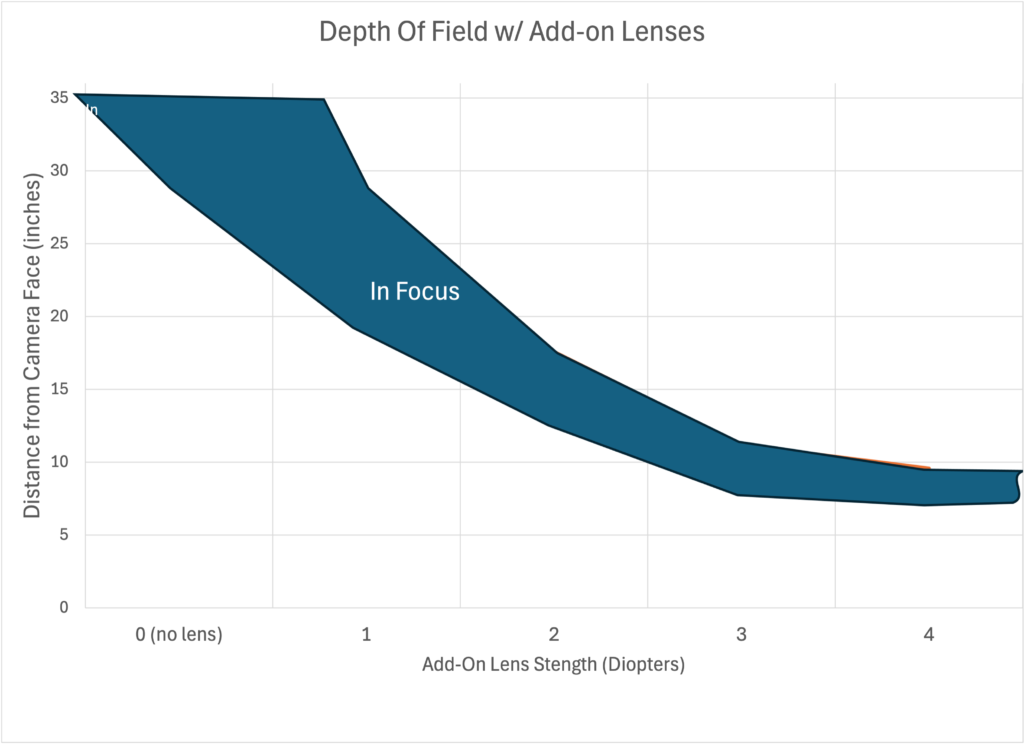
In our application, the strength of the add-on lens determines the depth of field of the resulting optical setup. The “depth of field” is simply the range of distances from that camera where the subject will be in focus.
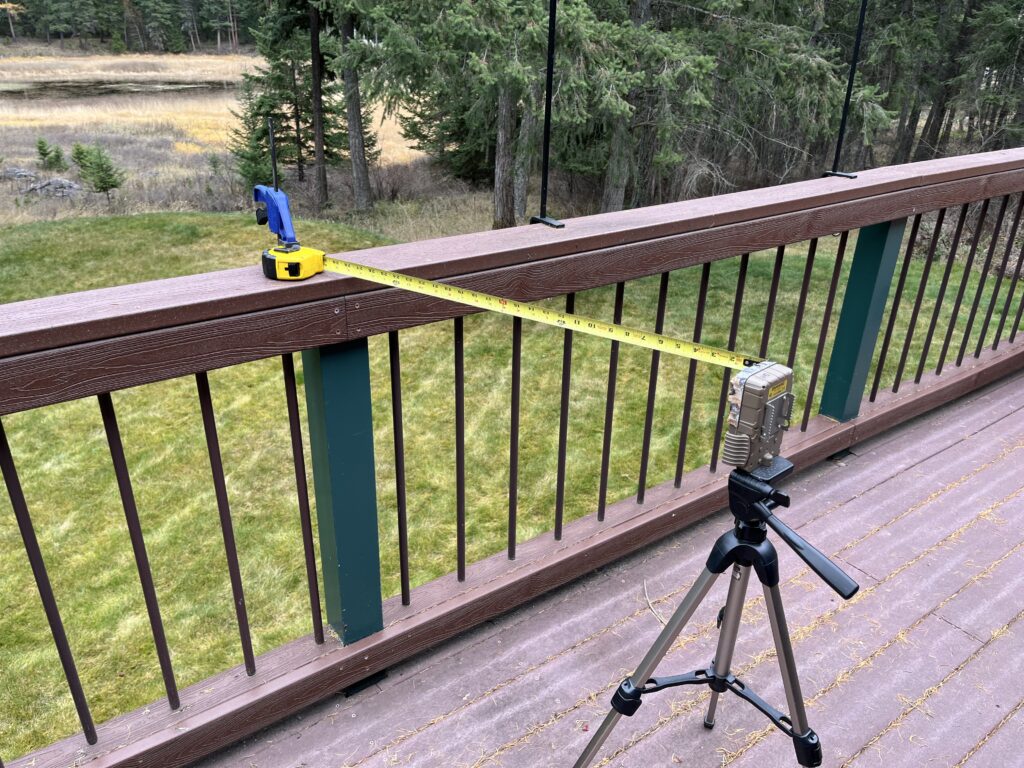
The larger the magnification, the smaller the depth of field. I built a simple test setup for measuring the depth of field, shown below. A ruler placed diagaonly in front of the camera provides a calibrated focal target. We can judge the depth of field of a setup by looking along the rules to see what’s in focus.
By doing some adjustment for measurements along the diagonal, we can get the depth of field. I did this with lenses ranging in strength from 1 to 4 diopter. the results are plotted on the graph below. You can use these results to pick the right lens strength for a close focus set.
Assembly
Once you have the lens you want, the next trick is to mount it in front of the camera’s primay lens. I’ve done this by gluing it either to the camera itself, or to a security box. If you are using a security box, do a dry fit to make sure the camera can be placed in the security box with the external lens in place.
Use an adhesive that bonds plastic, metal, and glass, is flexible, can fill gaps, and is waterproof. I tried a couple of options before landing on this Gorilla Glue Product.
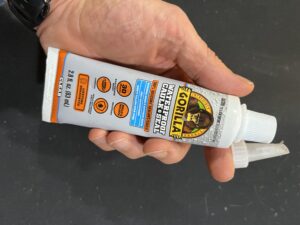
I suggest leaving the bottom of the lens unglued . This allows any moisture that makes it into the gap between the lens and the camera, to get back out.
Examples
In addition to a summary of this post, the video below includes some short video of an American pika taken before and after we fitted the camera with a diopter 4 lens. Note that in the “before” clip, the talus field in the fare background is in focus, but the animal is blurry. With the lens installed, this reverses, and giving us a clear view of the pika, even as the talus field behind is an out-of-focus blur.
Comments
Have you used your trail camera to get closeups of other small animals? Let us know in the comments, below.
Comments
Trail Camera Close Focus Conversion — No Comments
HTML tags allowed in your comment: <a href="" title=""> <abbr title=""> <acronym title=""> <b> <blockquote cite=""> <cite> <code> <del datetime=""> <em> <i> <q cite=""> <s> <strike> <strong>